
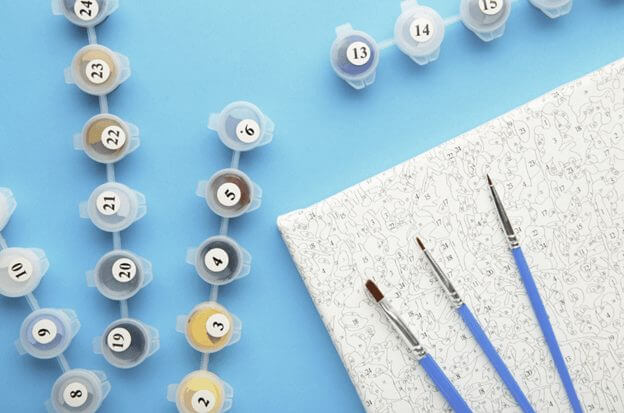
Painting by numbers gives a child a colour key and a picture to work through, but it does not need to become a test of staying inside every line. A useful first project has shapes the child can manage and a subject they actually want to paint.
Look at the spaces in the picture before choosing it. A small design with dozens of narrow sections may be harder than a larger picture with broad shapes. The subject alone does not tell you how fiddly it will be.
Choose for the child using it
Check the manufacturer’s age guidance and instructions, including whether the paint is suitable for children. Consider how easily your child can recognise the numbers, hold the brush and keep track of the colour key. An adult can point out matching numbers or add colour swatches beside them.
For a first attempt, choose a limited palette and generous spaces. A child who dislikes prescribed colours may prefer an outline to paint freely. Neither approach is a better kind of art.
Prepare a manageable painting space
Protect the table, use clothes you do not mind marking and place the picture on a stable surface. Keep paint and rinse water away from food and drinks. Follow the kit instructions for use, cleaning and disposal, and supervise appropriately.
Put out one or two brushes, a wiping cloth and a sturdy rinse-water container. Keep the colour key visible. Before starting, check that each pot has a readable number; a photograph of the key can be useful if the printed sheet gets marked.
Paint a few spaces first
- Choose one colour and find its number on the key.
- Locate a large matching space in the picture.
- Load a little paint onto the brush rather than coating the whole brush.
- Fill the space at a comfortable pace, turning the picture if that helps.
- Close the pot when finished and rinse the brush before changing colour.
It can be convenient to paint several spaces of the same colour, but your child does not have to finish every one before moving on. Work away from wet areas so a hand or sleeve does not drag through them. Choose a direction that suits the painting hand rather than insisting everyone starts in the same corner.
When something goes wrong
A number still shows: let the area dry, then check whether the paint instructions allow another thin coat. More wet paint at once can make the patch harder to control.
The colour looks muddy: rinse and wipe the brush before returning to the pot. Replace dirty rinse water. Avoid dipping a brush loaded with one colour into another pot.
A space is too small: try a smaller brush if you have one, offer help, or agree that a little overlap is fine. You can leave the fiddly details for another session.
The paint seems thick: check the manufacturer’s directions. Do not add water, solvents or other products simply because another kit recommends them.
Make a stopping plan
Stop after a few sections or when your child wants a break. Close the pots, clean the brushes as directed and put the work somewhere suitable to dry. Note the colour you were using so the next session is easy to begin.
Try these questions afterwards: Which shape was easiest? Did any colours surprise you? What would you change if you designed the picture? You can make a simple version of your own by drawing six large shapes, numbering them and creating a three-colour key.
The finished picture does not have to match the example on the box. Keep room for changes and enjoy the decisions your child makes. Explore our family activities and resources for another project.
